
Getting Started with Voyager
So you’ve downloaded Voyager, and you’re eager to start playing with your new software.
Who reads manuals? Let’s start clicking buttons and see what they do!
Uhh, not so fast, partner. You can certainly learn Voyager that way… just like you could learn to fly a Cessna 172 by pushing buttons and watching how the plane reacts. But there’s a better way. In fact there are several better ways.
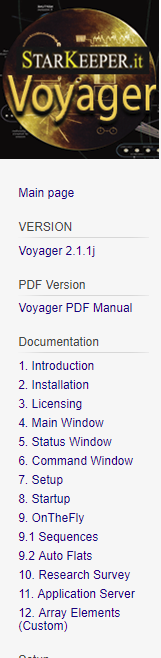
We are working on English language videos next, so that will soon be an option. In the meantime, your best resource is the Voyager Wiki. If you’re the type that likes to read a manual end-to-end before starting to use new software, you can walk through the Wiki by clicking the pages on the Wiki’s left sidebar.
The Version number tells you what version of Voyager is documented in the Wiki. It’s usually current to the latest Daily Build, so if you’re using an older version, be aware that there may be some new features documented in the Wiki that are not yet included in your version.
The PDF Version link on the Wiki will download a PDF file complied from all the pages in the Wiki, so you can have a copy handy on your computer for offline reading.
If you haven’t already installed your downloaded copy of Voyager, step-by-step instructions are included in the Installation section of the Wiki. It’s really quite straightforward, installing like most Windows software, but it can’t hurt to open the Wiki and follow along in case you have any questions.
Once you have installed Voyager, I strongly recommend that you run through the Quick Start tutorial, which is also included in the Wiki.
The Quick Start using the ASCOM simulators so you don’t have to connect your real imaging gear. You will learn how easy it is to set up a camera, mount, and filter wheel. Next you will choose a target and find its coordinates using the free SIMBAD online planetarium service.
Once that’s done, you will see how easy it is to slew your simulated mount to the target’s coordinates, take some camera shots from Voyager’s “OnTheFly” menu, and create a Sequence to take multiple exposures, specifying everything from plate solving to autofocus to guiding and more.
You may spend 30 minutes if you breeze through the Quick Start, or an hour or two if you drill down and explore some of the features that surface as you work through it.
It’s time well spent – once you’ve completed the Quick Start using ASCOM simulators, you can repeat the same steps with your real gear, and see how easy it is to harness Voyager’s reliable automation to take some live shots under the stars!
And remember, once you buy your Voyager license, you are entitled to two free sessions by Skype or WhatsApp with TeamViewer support directly with Leo, Voyager’s developer, to answer your questions and make sure you get off to a good start.
Take a little time to understand how Voyager works and you’ll be glad you did. When I started, there was only a partial manual written in Italian which I Google translated to English and that was enough for me to get productive quickly. But we’ve come a long way since then, so take advantage of it!
Happy imaging!
Rowland
